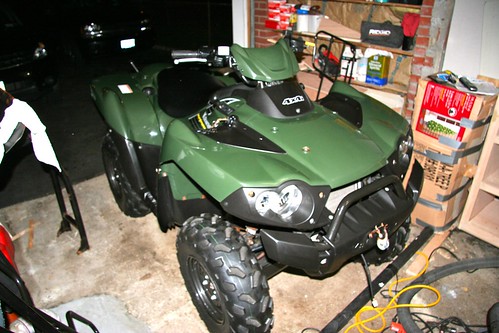
I finished up the main detailing to get rid of all the oxidation. I started to work on some of the corroded wiring and other problems. I had a really hard time getting off some of the body screws because they were so rusted.
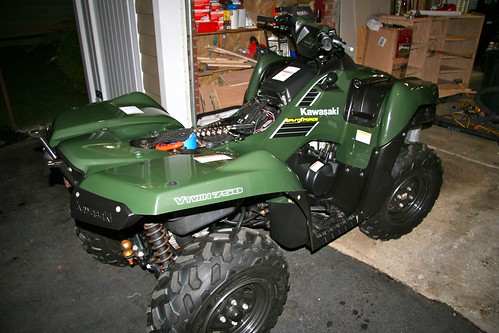
All cleaned up:
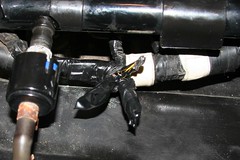
Bus connector fix (common problem on 2005 and 2006 Kawasaki Brute Force 750’s)
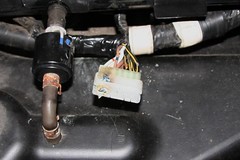
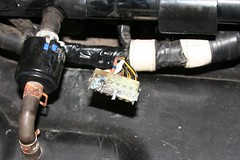
Took the wires out of this plug, stripped then soldered.
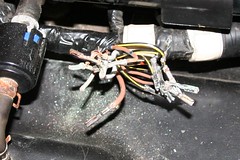
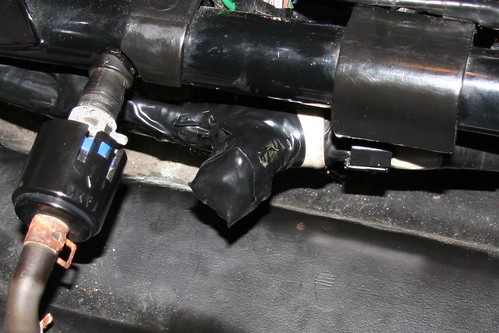
Then taped them up nice and secure…
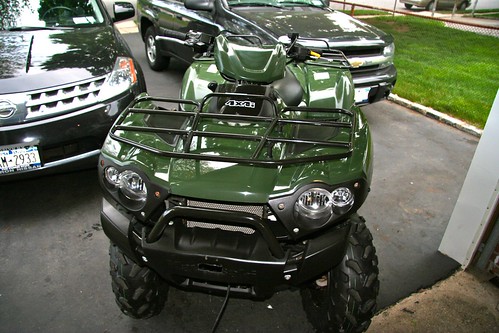
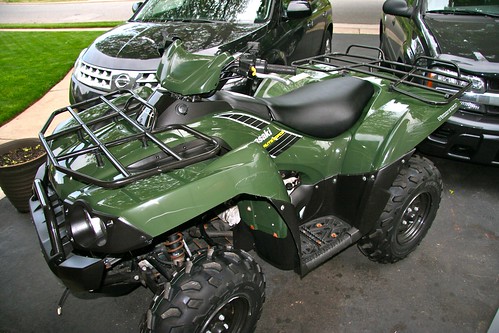
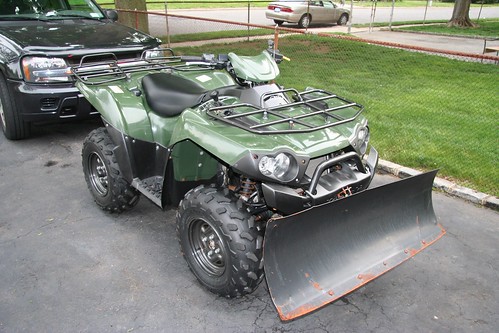
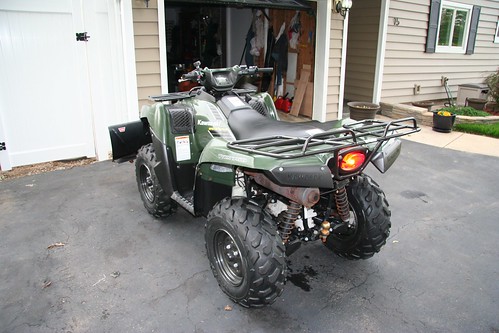
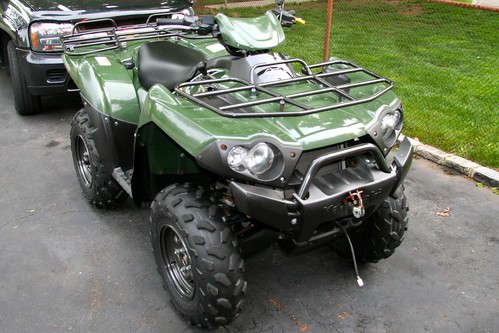
After 10 months of looking I finally found the ATV deal I was looking for. A 2005 Kawasaki Brute Force 750. It has 33 hours on the clock ~170 miles, its basically brand new. I spend about 8 hours today detailing the quad, it was pretty oxidated from sitting outside. I used a oxidation remover and then wax on the whole ATV. Its coming out pretty good. I took off the racks and starting spray painting some of the rusted bolts and parts with Rustoleum. The plow needs to be reconditioned as well, I’ll probably strip that down to bear metal with the wizzer next week. Here are some pics:
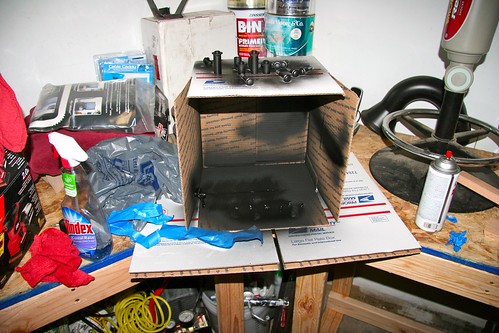
My “spray booth”
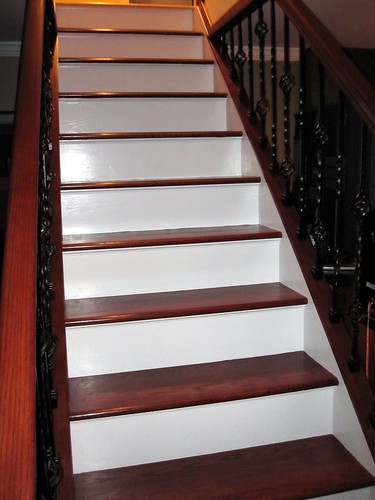
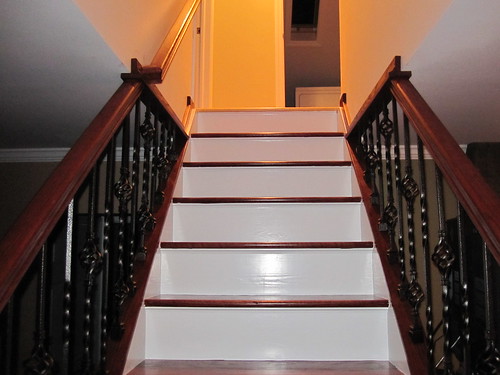
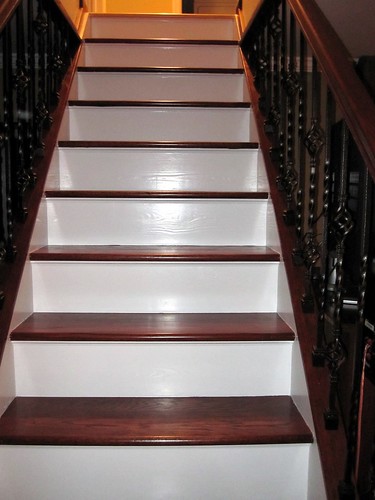
These stairs are finally done. First was the endless sanding, then the staining and polyurethane. I put off painting the risers and sides because its a nightmare to prep, plus I had other projects from “The List” to get done. I went through a roll of tape just getting everything ready before painting. Primed with a good primer, then hit it with a semi gloss white from Benjamin moore. (I went with the semi gloss because of durability, I used this on all my moldings and doors)
Anyways, here are some pics. The flash from the camera makes it seem more shiny then it actually is, I think it came out pretty good.